
Introduction
Today we will be looking at the installation of Invoice Ninja on Ubuntu 20.04 with Apache Web Server on a Remote VPS in this blog. We can follow the same instructions on the platforms AWS, Digital Ocean, Vultr, Linode or for the matter any VPS giving out Ubuntu 20.04.
Invoice Ninja is an Open Source, Self Hosted Invoicing application software that is an alternative to the commercial online invoice platform.
Invoice Ninja also has a commercial Hosted service available for users who don’t want to deal with self-hosting.
If you would like to self host the application on your server, you can follow the instructions and get it setup and running within a short span of time.
Table of Contents
- Updating & Upgrading Packages
- Apache Web Server Installation
- First Test Of Apache Web Server
- Set Apache User As The Owner Of Documents
- MYSQL / MariaDB Database Server Installation
- Onto The Final Part Of LAMP Stack – PHP 7.3 Installation
- InvoiceNinja Download And Install
- Database Setup
- Configure Your Web Server For Invoice Ninja
- HTTPS SSL Configuration
- Setup Of InvoiceNinja Application
- Setting Up Cron Jobs
- Personalization & Debranding
- Troubleshooting Issues
Features of Invoice Ninja Application Software
- Send Quotations & Invoices to your clients directly from the platform.
- Have your own domain name and branding (Debranding just costs 30$).
- Run multiple businesses on the same application.
- Recurring invoices with automatic billing.
- Simple interface to create stunning Invoices and Quotations, to impress the customers
- Clients can check all of their transactions in a single place.
- File attachments along with your invoices and quotations.
- Creating Project Tasks & Tracking Time available in the platform.
- Zapier Integration is available for communications with other software platforms.
- Integrated Visual Project Management tool for organizing and planning your work.
- Support for Partial Payments and deposits on the same invoice.
- Invoice Payment Notifications & auto-reminder emails.
- Email & popup notifications on client view and payments.
- More to come as and when the update comes.
Requirements
This installation blog is meant to be done on Ubuntu 20.04 and runs Apache Web Server, other versions will require a slight bit of modifications, which will have a complete blog of its own. Please do checkout my other blogs for more information.
- We require Ubuntu 20.04 with a minimum of 1 GB of RAM for running the application effortlessly.
- In this blog, we will be using Amazon AWS with the free tier t2.micro instance for our installation.
- The process would be the same across other VPS providers such as Digital Ocean, Vultr, Linode
- Amazon AWS
- Digital Ocean (100$ Credit for 2 months)
- Vultr (100$ Credit for 1 month)
- Linode (100$ Credit for 2 months)
LAMP Installation.
1 – Updating & Upgrading Packages
sudo apt updatesudo apt upgrade2 – Apache Web Server Installation
The Below command will install Apache Web Server,apache2-utils is also installed to have useful utilities such as Apache HTTP server benchmarking tool.
sudo apt install -y apache2 apache2-utilsOnce the above commands are finished, Apache server should be up and running, you can check the status of the server with the below command.
sudo systemctl status apache2Sample Output, if everything is properly setup.
If the command doesn’t quit automatically, Just Press “Q” to terminate and get back to the terminal window.
● apache2.service - The Apache HTTP Server
     Loaded: loaded (/lib/systemd/system/apache2.service; enabled; vendor preset: enabled)
     Active: active (running) since Sat 2021-04-03 08:00:14 UTC; 24h ago
       Docs: https://httpd.apache.org/docs/2.4/
   Main PID: 42399 (apache2)
      Tasks: 55 (limit: 1160)
     Memory: 15.7M
     CGroup: /system.slice/apache2.service
             ├─42399 /usr/sbin/apache2 -k start
             ├─43606 /usr/sbin/apache2 -k start
             └─43607 /usr/sbin/apache2 -k start

Apr 03 08:00:14 ip-172-31-17-158 systemd[1]: Starting The Apache HTTP Server...
Apr 03 08:00:14 ip-172-31-17-158 systemd[1]: Started The Apache HTTP Server.
ubuntu@ip-172-31-17-158:~$
If there is any issue and Apache didn’t start as intended, you can try to start it by using the below command.
sudo systemctl start apache2Also, enable Apache to start automatically once the system reboots
sudo systemctl enable apache2Check on the installed version of Apache.
apache2 -vOutput, if everything is properly set up, up and running.
Server version: Apache/2.4.41 (Ubuntu)
Server built:   2020-08-12T19:46:17
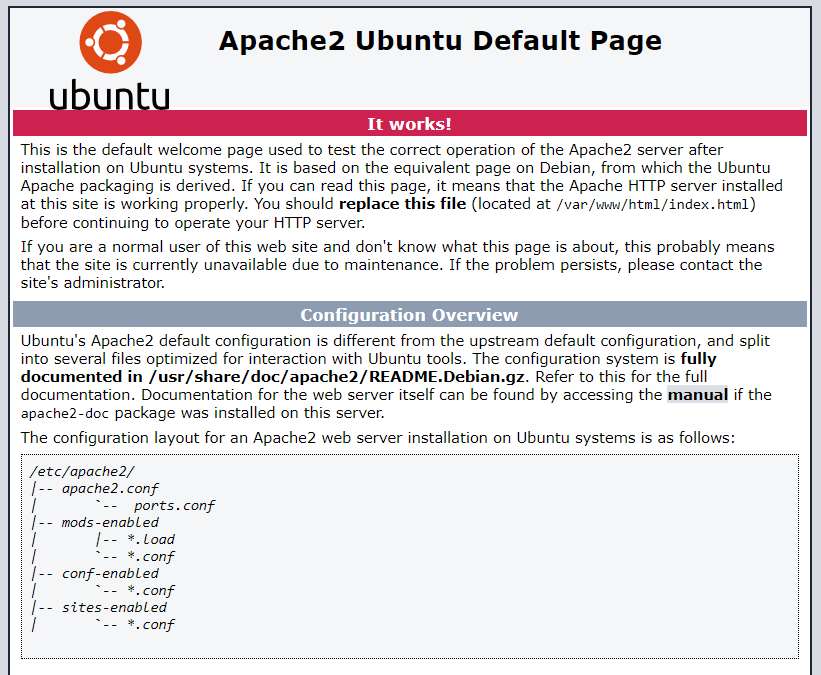
3 – First Test of Apache Web server.
If all the above has successfully completed, you should be able to see the Apache2 Ubuntu Default Page.
Just fire up a browser, type in the IP address of your server, you should be able to see the below default page.
Click here on how to get the IPAddress on AWS and Digital Ocean.
In case you are installing it locally on a Ubuntu 20.04 desktop, you can use http://127.0.0.1 or http://localhost and you should be able to see the Default page.
Congratulations on the first success, We have just completed 5% of our task.
If you have a message, connection is refused or Failed to complete, it would be the firewall causing the issue which prevents incoming requests to TCP Port 80. If you are Amazon AWS, your security group should look like the below image. Edit and add the HTTP TCP Ports 80 and HTTPS TCP Ports 443 on your instance security group.

For iptables firewall, the following commands will open your TCP port 80 on your firewall.
sudo iptables -I INPUT -p tcp --dport 80 -j ACCEPTFor UFW Firewall, the following commands will open your TCP port 80 on your firewall.
sudo ufw allow httpFollow Step 3 and check on the process again, now by this time you should be able to see your Apache2 Ubuntu Default Page.
4 – Set Apache user as the owner of documents.
By default, the documents are owned by the root user. We need to set www-data (Apache user) as the owner of the document root (also known as web root). Run the below command to set the user.
sudo chown www-data:www-data /var/www/html/ -RTo check if the hostname is resolved in DNS, check with the below command.
sudo apache2ctl -tIf there is really an issue, you would get the below message, and can be solved easily by adding a ServerName in Apache.
AH00558: apache2: Could not reliably determine the server's fully qualified domain name, using 127.0.0.1. Set the 'ServerName' directive globally to suppress this messageFollow the below process to add the ServerName in Apache.
sudo nano /etc/apache2/conf-available/servername.confAdd the following line in this file. Save and exit the nano editor after that.
ServerName localhostEnable the config file.
sudo a2enconf servername.confReload Apache server for all the setting to be applied.
sudo systemctl reload apache2Again check the below command to check if the ServerName gets resolved. If you have followed the process above correctly the error should not appear.
sudo apache2ctl -t5 – MYSQL / MariaDB Database Server Installation.
MariaDB is a fully open-source replica of MYSQL, we will be using it for our Invoice Ninja installation.
sudo apt install mariadb-server mariadb-clientCheck the status of MariaDB installation.
systemctl status mariadbOutput if everything is working perfectly.
● mariadb.service - MariaDB 10.3.25 database server
     Loaded: loaded (/lib/systemd/system/mariadb.service; enabled; vendor preset: enabled)
     Active: active (running) since Sat 2021-04-03 07:40:58 UTC; 1 day 2h ago
       Docs: man:mysqld(8)
             https://mariadb.com/kb/en/library/systemd/
   Main PID: 17481 (mysqld)
     Status: "Taking your SQL requests now..."
      Tasks: 30 (limit: 1160)
     Memory: 89.8M
     CGroup: /system.slice/mariadb.service
             └─17481 /usr/sbin/mysqld

Apr 03 07:40:59 ip-172-31-17-158 /etc/mysql/debian-start[17519]: mysql
Apr 03 07:40:59 ip-172-31-17-158 /etc/mysql/debian-start[17519]: performance_schema
Apr 03 07:40:59 ip-172-31-17-158 /etc/mysql/debian-start[17519]: Phase 6/7: Checking and upgrading tables
Apr 03 07:40:59 ip-172-31-17-158 /etc/mysql/debian-start[17519]: Processing databases
Apr 03 07:40:59 ip-172-31-17-158 /etc/mysql/debian-start[17519]: information_schema
Apr 03 07:40:59 ip-172-31-17-158 /etc/mysql/debian-start[17519]: performance_schema
Apr 03 07:40:59 ip-172-31-17-158 /etc/mysql/debian-start[17519]: Phase 7/7: Running 'FLUSH PRIVILEGES'
Apr 03 07:40:59 ip-172-31-17-158 /etc/mysql/debian-start[17519]: OK
Apr 03 07:40:59 ip-172-31-17-158 /etc/mysql/debian-start[17583]: Checking for insecure root accounts.
Apr 03 07:40:59 ip-172-31-17-158 /etc/mysql/debian-start[17587]: Triggering myisam-recover for all MyISAM tables and aria-recover for all Aria tables
If the server is not running automatically, you can use the below code to try to start the MariaDB Services
sudo systemctl start mariadbAlso, enable the services once the server restarts.
sudo systemctl enable mariadbNow we have to follow the below steps to finalize the MariaDB server installation.
sudo mysql_secure_installationAs this is a fresh installation there is no password set, So just hit enter to continue.
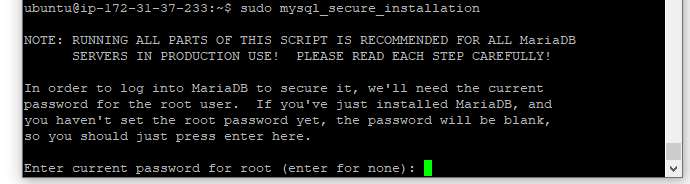
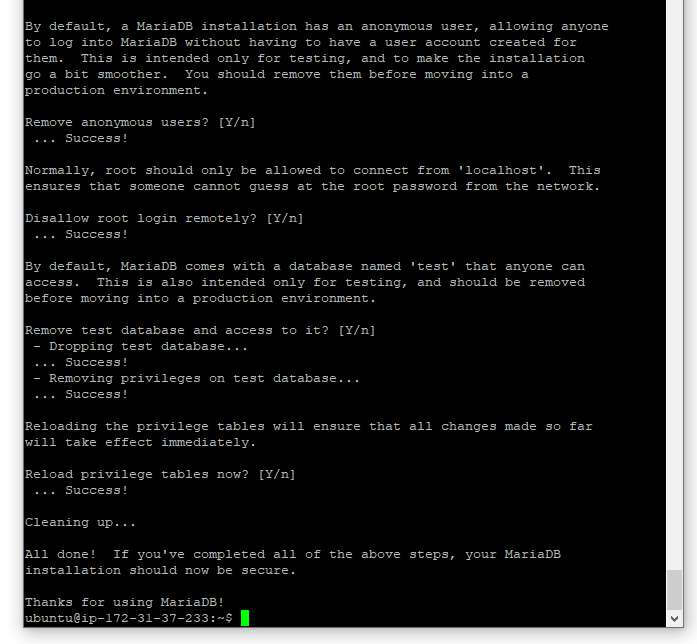
Now set your Root Password. “Y” in caps means its the default option if you hit enter. Enter your root password and make a note of it somewhere. Confirm the same password once again.

Now MYSQL will ask for several questions and its all better to agree them for security reasons. “Y” in caps means its the default option if you hit enter. Enter “Y” or just hit Enter at all the options.
MariaDB package on Ubuntu uses unix_socket to authenticate user login, which basically means you can use the username and password of the OS to log into the MariaDB console.
Run the following command to login without providing a MariaDB root password.
sudo mariadb -u root
exit;
Check the version of MariaDB installed on your server
mariadb --versionOutput if everything is fine.
mariadb Ver 15.1 Distrib 10.3.25-MariaDB, for debian-linux-gnu (x86_64) using readline 5.26 – Onto the final Part of LAMP Stack – PHP 7.3 Installation.
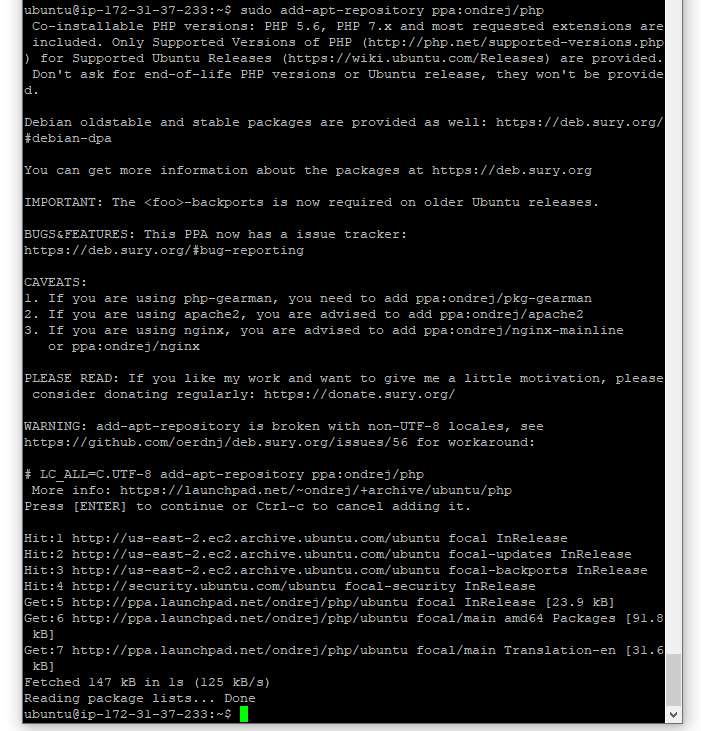
PHP 7.4 is the latest stable version of PHP, But InvoiceNinja does not support it as of yet. We will be using PHP7.3 PPA and install PHP7.3
sudo add-apt-repository ppa:ondrej/phpHit Enter to continue with the installation.
Install all the dependencies of PHP as required by InvoiceNinja.
sudo apt install php-imagick php7.3-fpm php7.3-mysql php7.3-common php7.3-gd php7.3-json php7.3-curl php7.3-zip php7.3-xml php7.3-mbstring php7.3-bz2 php7.3-intl php7.3-gmpDisable the PHP7.4 (if installed) and Prefork MPM module.
sudo a2dismod php7.4

sudo a2dismod mpm_prefork
Check the version of the PHP installation
php --versionOutput if all is OK.
PHP 7.3.27-9+ubuntu20.04.1+deb.sury.org+1 (cli) (built: Feb 23 2021 15:10:30) ( NTS )
Copyright (c) 1997-2018 The PHP Group
Zend Engine v3.3.27, Copyright (c) 1998-2018 Zend Technologies
    with Zend OPcache v7.3.27-9+ubuntu20.04.1+deb.sury.org+1, Copyright (c) 1999-2018, by Zend Technologies
We need to enable the below three modules in order to use PHP-FPM, this is regardless of mod_php is installed on your server.
sudo a2enmod mpm_event proxy_fcgi setenvifRestart your Apache Server.
sudo systemctl restart apache2Congratulations!! we have completed around 50% of our Task.
On onto our Next step, installation of our InvoiceNinja software.
7 – InvoiceNinja Download and Install.
Run the command to fetch the latest package of InvoiceNinja on your server. As of writing this blog the version is 4.3.57. It might be different at the time of your installation, but that doesn’t matter much.
wget -O invoice-ninja.zip https://download.invoiceninja.com/You would need to unzip the downloaded zipfile. Unzip package is not available by default and would need to be installed. Install it.
sudo apt install unzipNow Create the directory and extract the archive to /var/www/ directory.
sudo mkdir -p /var/www/

sudo unzip invoice-ninja.zip -d /var/www/
The extract would have occurred in a directory named “ninja”. We should rename the ninja directory that is extracted to some other name to better identify it in future. You can use any name you like but would require modifications to the code also. Here we are using “invoice-ninja” as the folder name.
sudo mv /var/www/ninja /var/www/invoice-ninjaChange the owner of the directory to www-data, so we can write files onto the directory.
sudo chown www-data:www-data /var/www/invoice-ninja/ -RChange the Permissions of the storage directory.
sudo chmod 755 /var/www/invoice-ninja/storage/ -RThis is it for the application to be deployed onto the server. The next step will be the configuration of the database.
8 – Database Setup.
Log into MariaDB database server with the below command.
We had configured MariaDB with the unix_socket plugin to authenticate the user login. So we do not need to enter the MariaDB root password. We just use sudo with MariaDB.
The below code will create the database named invoiceninja and create a user ninja. Please make sure you change the ‘your-password’ to your own password and note it down.
Grants all privileges to the user on the database and exits MySQL
sudo mysql

create database invoiceninja;
create user ninja@localhost identified by 'your-password';grant all privileges on invoiceninja.* to ninja@localhost;
flush privileges;
exit;9 – Configure your Web Server for Invoice Ninja
Create a virtual host file for InvoiceNinja.
sudo nano /etc/apache2/sites-available/invoice-ninja.confPut the following text into the file. Replace invoice.domainname.com with your own sub-domain for InvoiceNinja.
Its always better to have a domain name, so your clients are able to see the domain the invoices come from. Please checkout the below links if you are looking out to purchase your domains.
Once you have the domains in place, set the A record for the domain name in your DNS manager.
(Note that the webroot is set to /var/www/invoice-ninja/public/, not /var/www/invoice-ninja/). Remember from above we created the directory invoice-ninja instead of the default ninja folder.
<VirtualHost *:80>
    ServerName invoice.domainname.com
    DocumentRoot /var/www/invoice-ninja/public

    <Directory /var/www/invoice-ninja/public>
       DirectoryIndex index.php
       Options +FollowSymLinks
       AllowOverride All
       Require all granted
    </Directory>

    ErrorLog ${APACHE_LOG_DIR}/invoice-ninja.error.log
    CustomLog ${APACHE_LOG_DIR}/invoice-ninja.access.log combined

    Include /etc/apache2/conf-available/php7.3-fpm.conf
</VirtualHost>
Save the file and close it. Now we have to enable the virtual host.
sudo a2ensite invoice-ninja.confEnable Rewrite Module
sudo a2enmod rewriteFinally, restart your Apache server.
sudo systemctl restart apache2Now visit your URL (change the domainame to your actual domain)
http://invoice.domainname.com
and will be redirected to the InvoiceNinja setup wizard. (Please do not continue with the setup, lets finish the final step of enabling HTTPS on the server. Once done we can go ahead with the setup of InvoiceNinja)
If you see the default Apache page instead of the InvoiceNinja setup, you would need to disable the default virtual host, and restart Apache Server.
sudo a2dissite 000-default.confsudo systemctl restart apache210 – HTTPS SSL Configuration
In order to provide better security, we need to encrypt the HTTP traffic. This is required if you are planning to use payment gateways with your InvoiceNinja software. Payment gateways won’t work unless your data is encrypted and is HTTPs enabled.
Here we will be using a free SSL TLS certificate from Lets Encrypt.
Lets run the below command to install cerbot onto our server.
sudo apt install certbotInstall the certbot Apache plugin
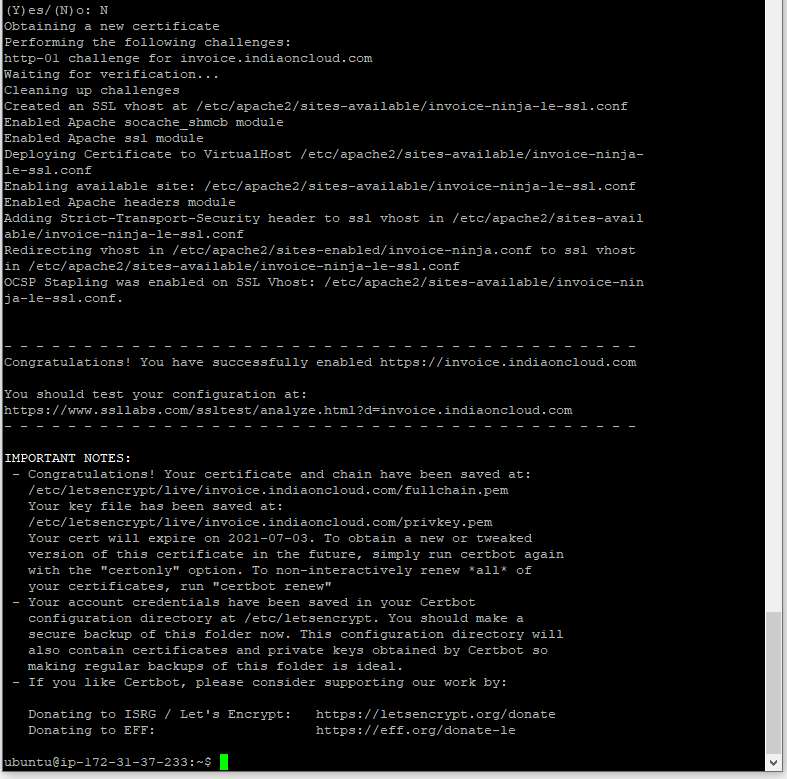
sudo apt install python3-certbot-apacheRun the following commands to obtain and install SSL TLS certificate. Make sure you make changes to the Email and domainnames before the command. Once completed successfully the server should have a valid HTTPS server.
sudo certbot --apache --agree-tos --redirect --hsts --staple-ocsp --email you@example.com -d invoice.yourdomain.comThe above code Explained
--apache: Force use the Apache plugin.
--agree-tos: Agree to terms of service of letsencrypt.
--redirect: Force HTTPS by 301 redirects.
--hsts: Add the Strict-Transport-Security header to every HTTP response. Forcing browser to always use TLS for the domain. Defends against SSL/TLS Stripping.
--staple-ocsp: Enables OCSP Stapling. A valid OCSP response is stapled to the certificate that the server offers during TLS.
11 – Setup of InvoiceNinja Application.
We hope that everything till now was properly done without any issues.
We are at the final stage of the installation wherein we need to set up our InvoiceNinja software to connect to our database and create an Admin User.
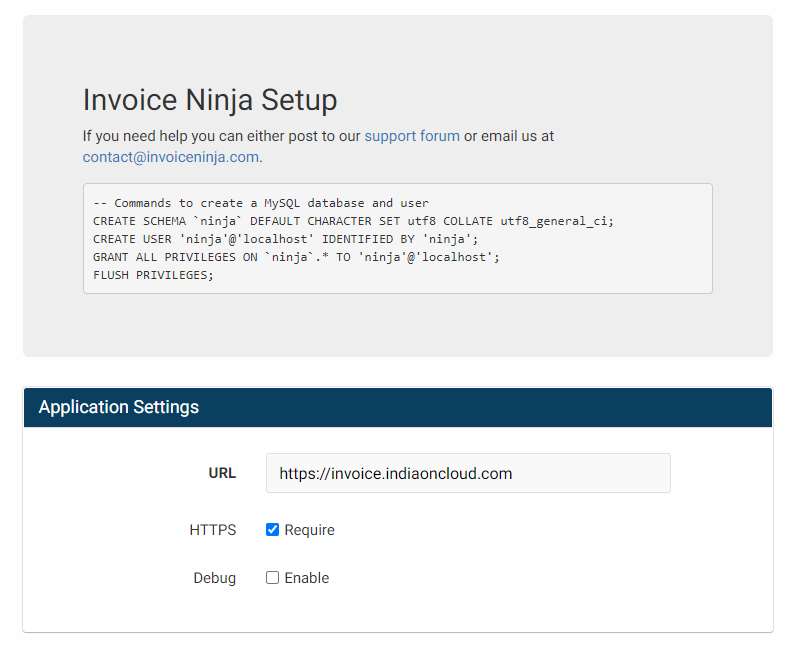
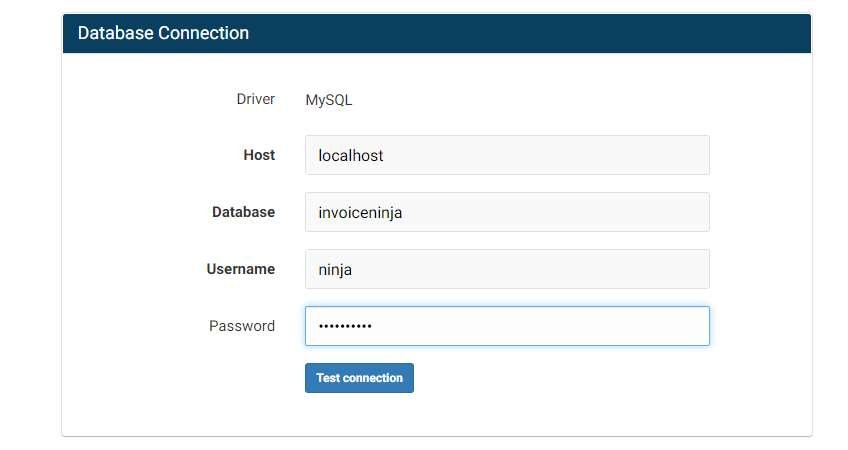
You have to enter the details of the database created at Step number 9 on the setup screen.
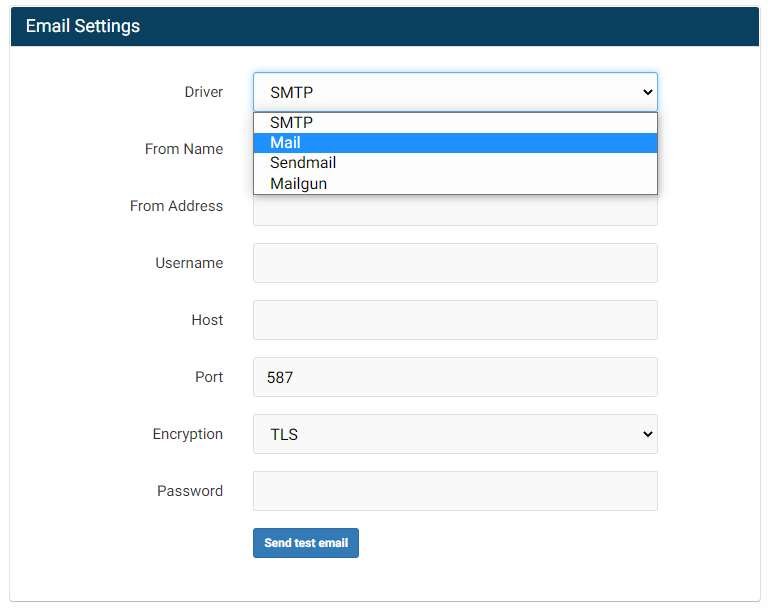
If you already have SMTP settings you can put them here on the setup page to direct all the mails from InvoiceNinja via your email address. This can later be done from the settings page inside of InvoiceNinja, so if you prefer to skip the SMTP settings you can skip for now.
If you wish to continue with the SMTP then there are 2 drivers to choose from
- SMTP – If you are using an external Email Application Software.
- SendMail – if you are using the same server as the mail server.
Settings For SMTP
Host: mail.domainname.com (Outlook, Gmail, Custom)
Port: 587
Encryption: TLS.
Username: your Username
Password: your Password
Settings For SendMail
Host: 127.0.0.1 or localhost
Port: 25
Encryption: none.
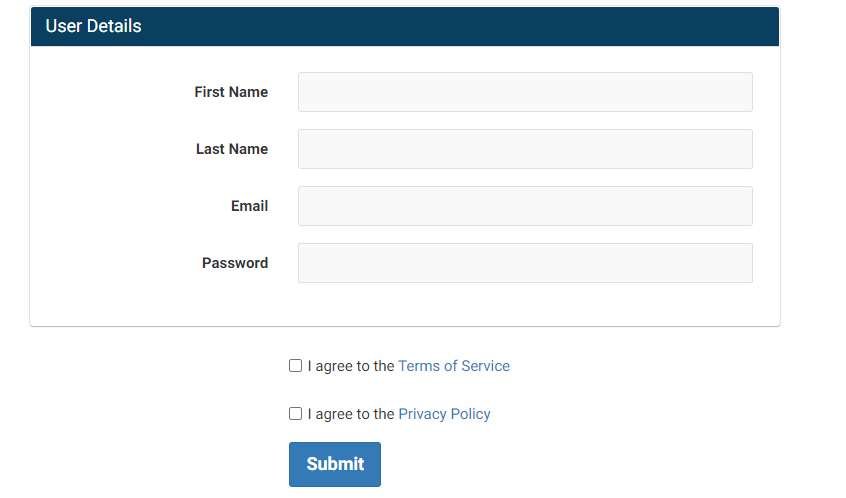
After this, you need to create the application admin username and password. Just Enter you First Name, Last Name, Email and Password.
Agree to the Privacy Policy & Terms and conditions. Click Submit.
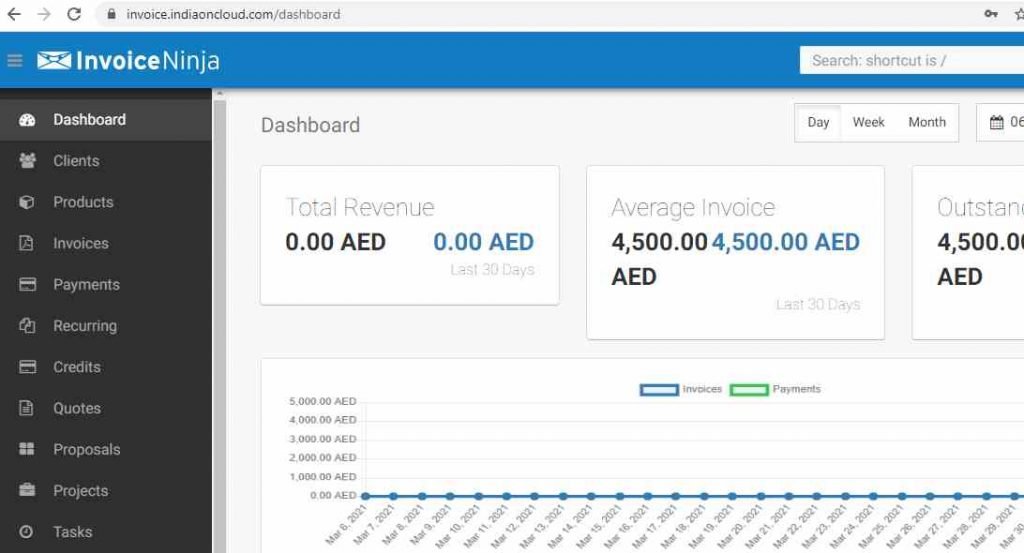
This is it your InvoiceNinja application is complete and ready to use and you can start using the application.
12 – Setting up Cron Jobs
If you planning to use the Recurring invoices and Email Reminders to work, we need to configure Cron Jobs. You need to edit the root users crontab file.
sudo crontab -eEdit and add the following lines of code to the end of the file. Which specify to run the cron job at exactly 8 am of your server time everyday.
#InvoiceNinja
0 8 * * * /usr/bin/php7.3 /var/www/invoice-ninja/artisan ninja:send-invoices > /dev/null
0 8 * * * /usr/bin/php7.3 /var/www/invoice-ninja/artisan ninja:send-reminders > /dev/null
You can run the cron jobs manually as below.
sudo /usr/bin/php7.3 /var/www/invoice-ninja/artisan ninja:send-invoices13 – Personalization & Debranding.
If you check on the invoices generated you would see an invoiceninja logo at the end of each invoice and quotation.
If you would like to remove the InvoiceNinja branding, you can easily do so by purchasing a white-label licence. The cost of each licence is 30$ per year. Once purchased and applied, the logo will be turned off at both the printed invoices and the clients portal.
To Purchase the licence you can go to settings -> Invoice Design, click the white-label link at the bottom of the page.

14 – Troubleshooting Issues
There may be issues you have to face while opening up the setup page before and after installing the HTTPS certificate. Error: app is already configured, backup then delete the .env file to re-run the setup.
This is because the setup has already written the .env file and thinks the software is configured.

You can bypass this by using the following command.
Note: Please make sure you insert this command only if you are facing the above issue. Do not remove the file if the proper installation has been completed.
sudo cp /var/www/invoice-ninja/.env /var/www/invoice-ninja/.env.bak

sudo rm /var/www/invoice-ninja/.env
Hope this blog tutorial will help to install the InvoiceNinja software onto your server. If you liked the content please do subscribe to our Newsletter.
That’s all folks!